LATEST VERSION OF THIS WRITE BACK EXTENSION => CLICK HERE
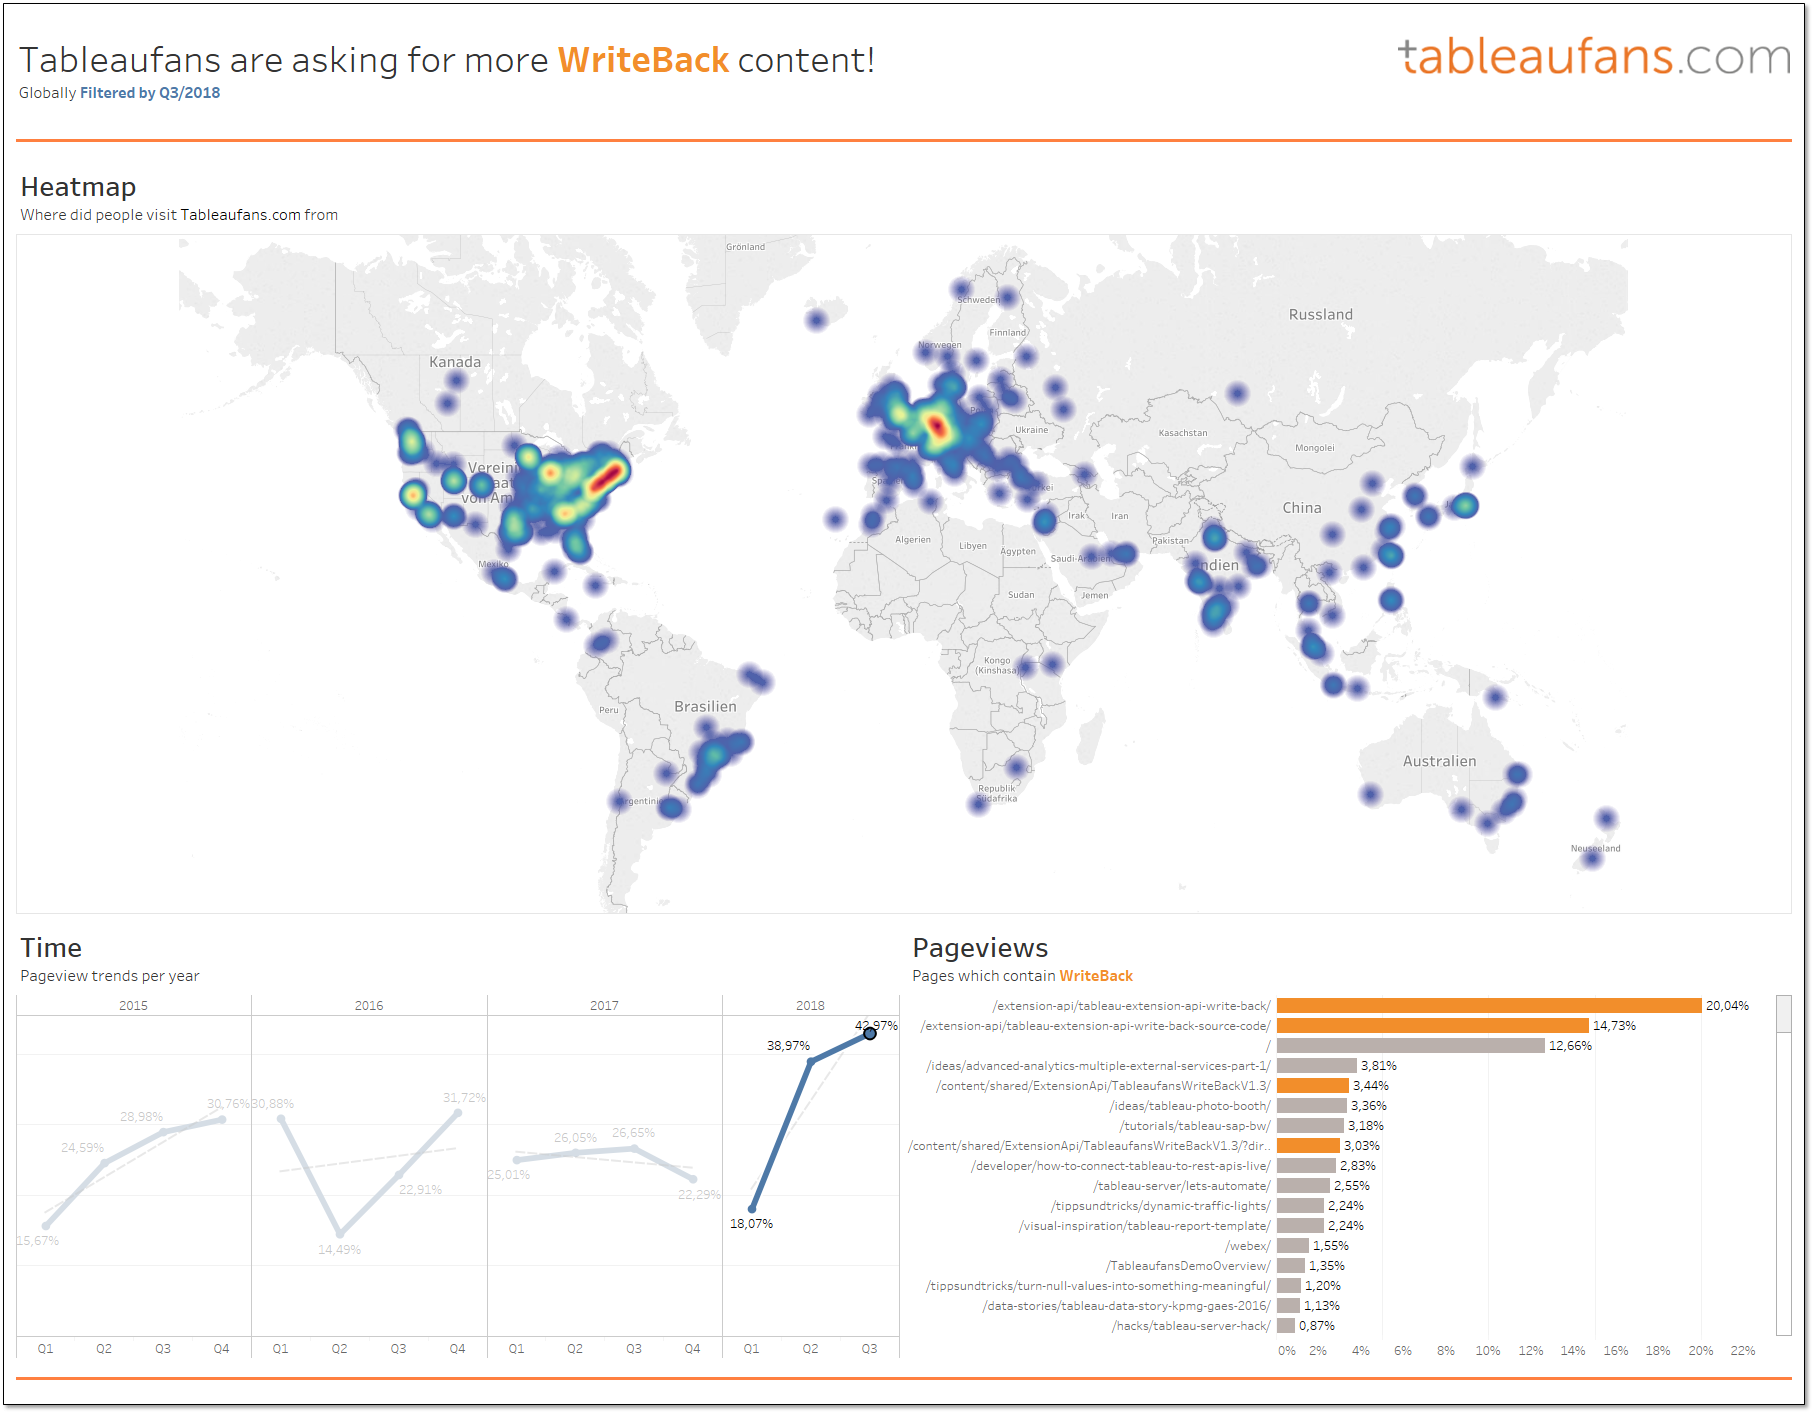
Due to the Google Analytics analysis I’ve done for the current quarter one can easily see that you – the Tableau community which we call “Tableaufans” – have been asking for more write back content. Would you agree?
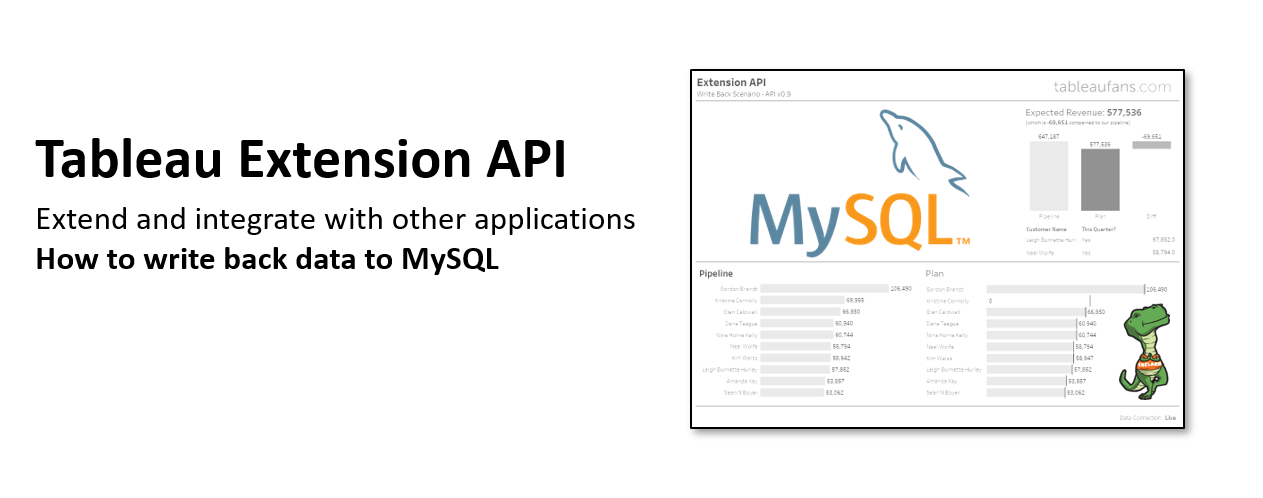
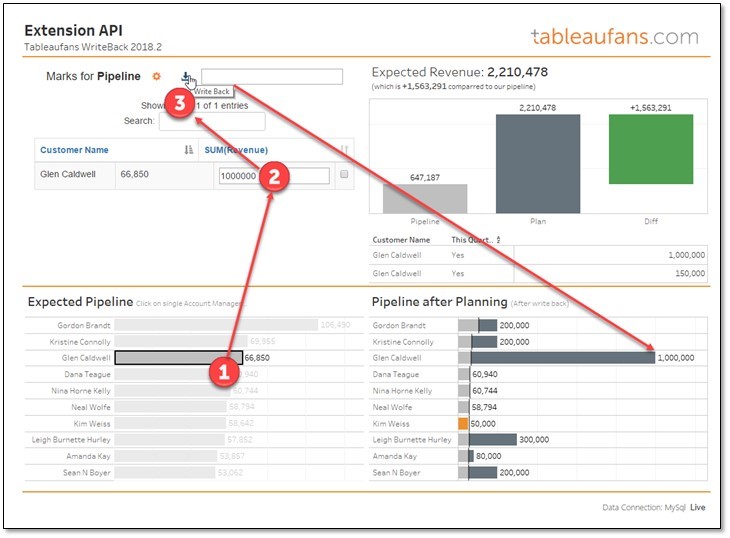
So as a very first step I’m going to attach a quick tutorial around how to get “Tableaufans-WriteBack-2018.2” up and running for Tableau’s latest release (2018.2) and above. If you haven’t heard about “Tableaufans.com’s Write Back Extension” yet, you might want to watch the ~4min video from one of the previous posts to understand what you could get by following these steps.
- In order to be able to leverage the write back extension you need to have a webserver and a MySQL database
- I’m using XAMPP version 7.0.23 which contains both. You can download it here.
- Once you’re done downloading it you can extract the folder directly into C:
(By copying it directly into C: it would simply allow you to follow all of my tutorials around extensions and JS API just a little bit easier in the future.) - Start “C:\xampp\xampp_start.exe” as administrator
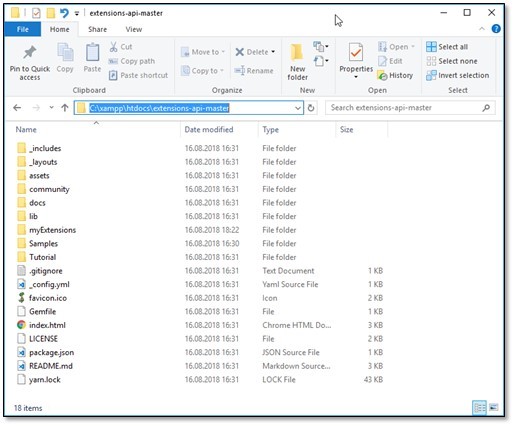
- Download the latest extension-api-master here: https://github.com/tableau/extensions-api
- Extract the content and paste it into your webserver (C:\xampp\htdocs)
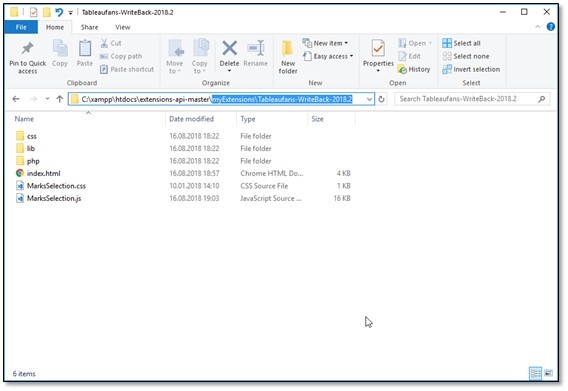
- Extract the zip below and create a new file path where you extract it’s content into:
Tableaufans-WriteBack-2018.2.ServerLogic(HTML,PHP,JS,CSS,)
- Extract the *.trex file and copy it into C:\Users\<USERNAME>\Documents\My Tableau Repository\Extensions
Tableaufans-WriteBack-2018.2
- Make sure your XAMPP (Webserver+MySQL database) is up and running
- Apache should use port 8888
- Mysql 3306
-> (If this is not the case, please change your ports accordingly as it will help you to use more assets from Tableaufans.com in the near future)
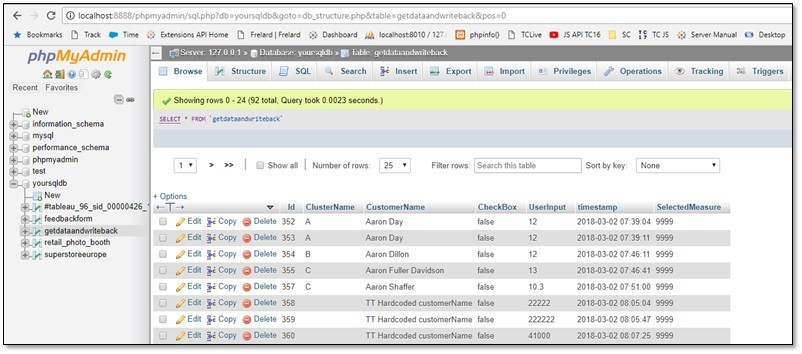
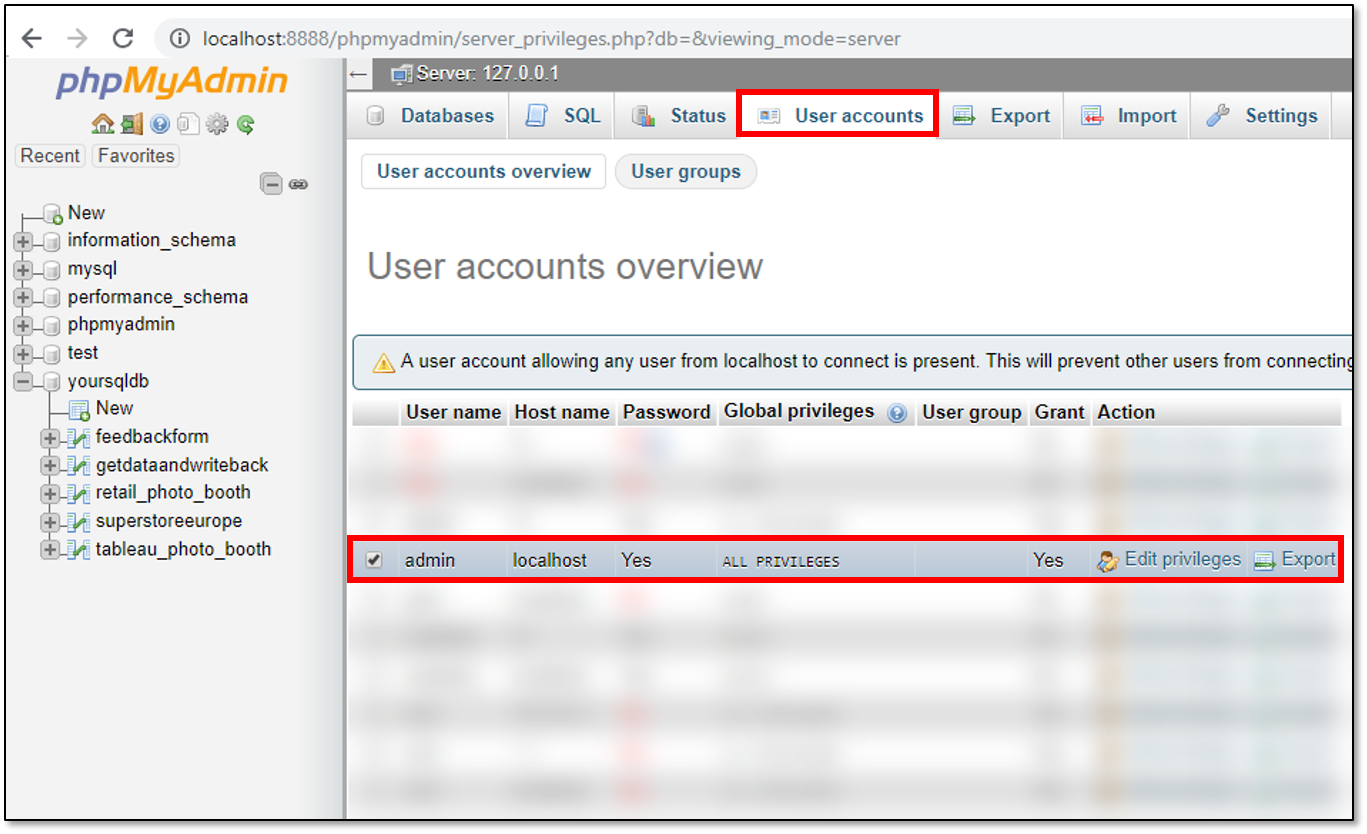
- MySQL should have a database called ‘yoursqldb’ with a table ‘getdataandwriteback’:
(if not, please use ‘yoursqldb.sql’ attached to create the table within a database called ‘yoursqldb’)
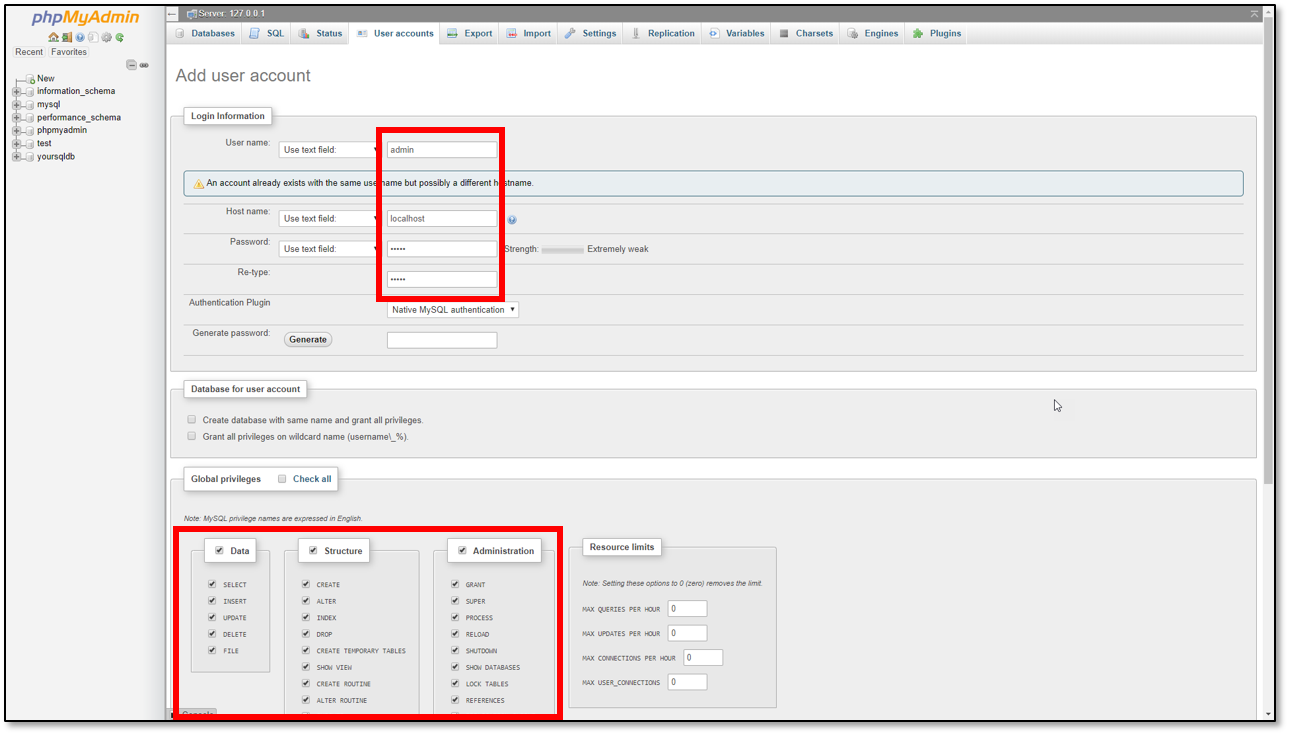
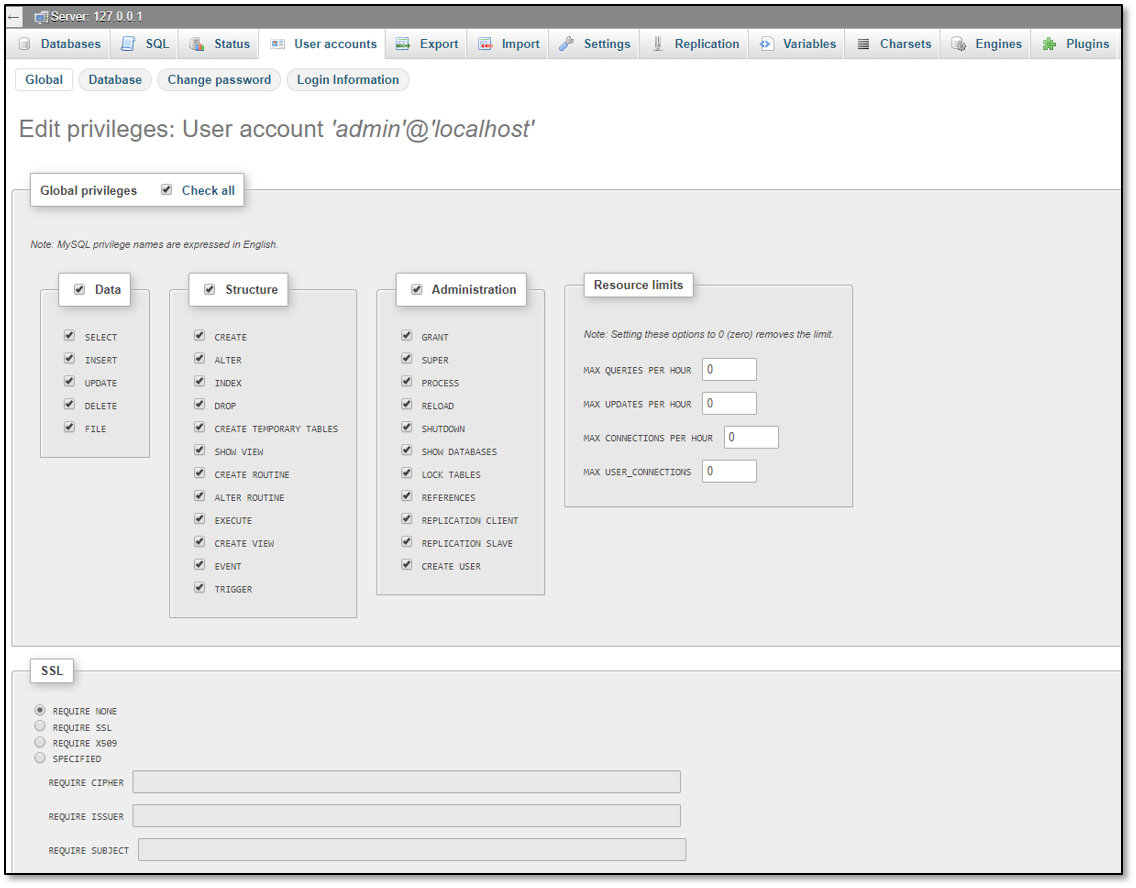
- Add a new user to MySql (direct link to the right user interface on MySql)
- User name: admin
- Host name: localhost
- Password: admin
- Re-type: admin
- Privileges: Data, Structure & Administration

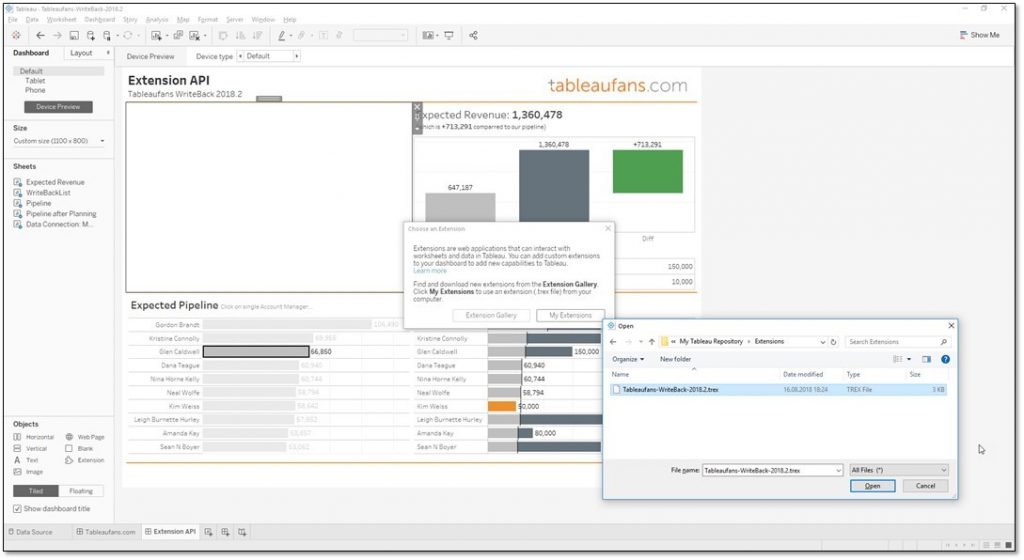
- Extract and Open “Tableaufans-WriteBack-2018.2.twbx.zip” with Tableau Desktop
- Drag and drop extension into the canvas and choose the one you copied into C:\Users\<USERNAME>\Documents\My Tableau Repository\Extensions
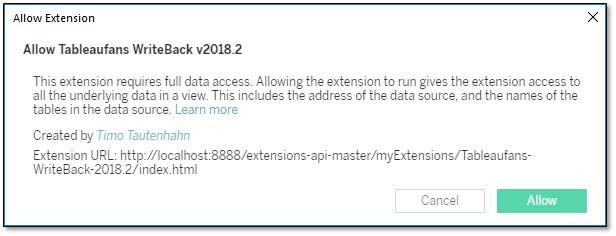
- Allow data access to the extension:
- Choose “Pipeline” as sheet to choose data selections from:
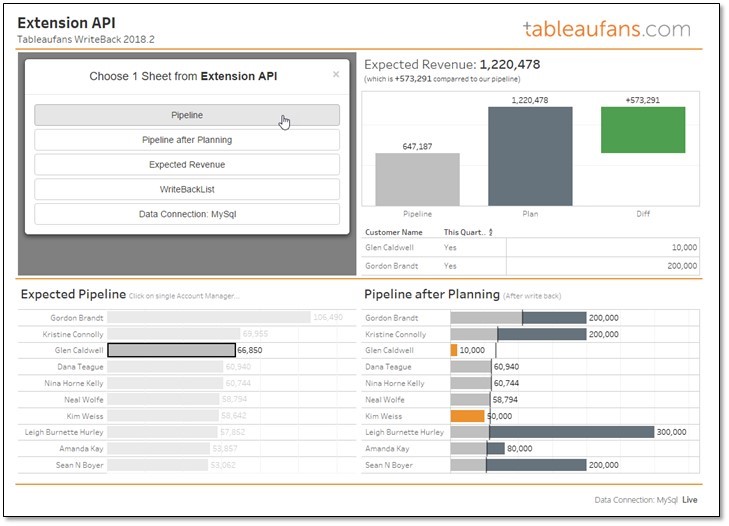
- Happy write back your data 😉
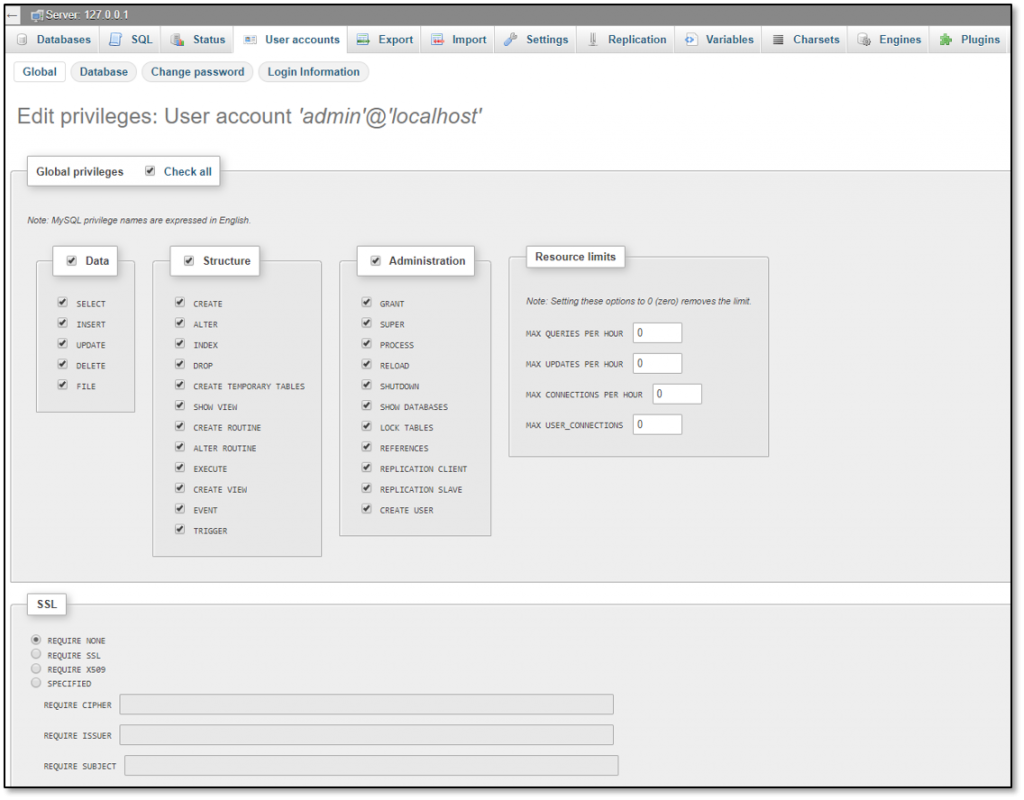
Troubleshooting:
- If the data doesn’t get written into the database make sure that you’ve got a user called “admin” in MySQL with password “admin” with the following permissions:
- http://localhost:8888/phpmyadmin/server_privileges.php?db=&viewing_mode=server

- http://localhost:8888/phpmyadmin/server_privileges.php?username=admin&hostname=localhost&dbname=&tablename=&routinename=
- http://localhost:8888/phpmyadmin/server_privileges.php?db=&viewing_mode=server
- If you want to debug Tableau Extensions generally you might want to have a look the following 2:21 min tutorial
Start Tableau Desktop (with Extension in Debug Mode).bat
- If you’re having any troubles in getting the extension up and running please leave us a comment below.
Leave a Reply to kumar Cancel reply