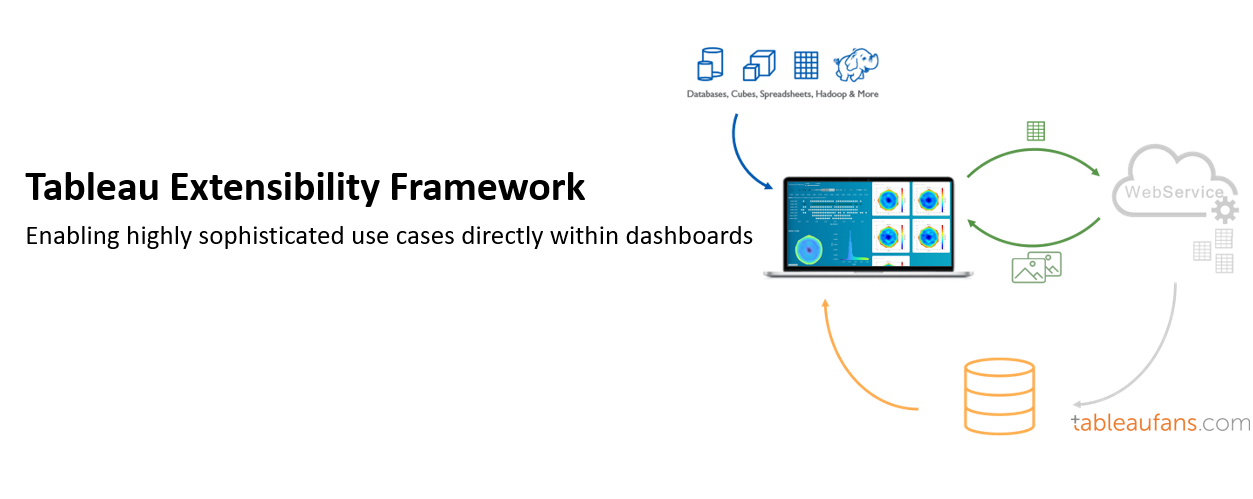
The first thing you should notice about this blog post is, that it has got a highly precise name “Tableau Wafer Extension”, but the word “Framework” attached to it. The reason is, this Tableau Extension solves a highly specific problem, but it can be leveraged to solve way more challenges!!! Therefore don’t look at it as a single highly specific Extension, but focus on the different modules and what they’re doing and think about your own scenarios where:
- Using selected marks to trigger something outside of Tableau,
- Generating images on-demand,
- Visualizing images in a certain context,
- Sending JSON data from your Extension to a WebService,
- Calling a Python script from your Extension or
- Writing enriched data back data into a database
would be of value!
How can I get it?
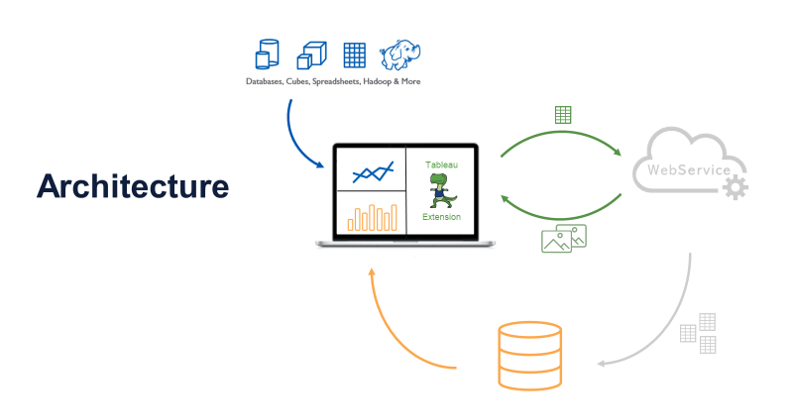
Architecture
High Level Architecture
Demo
Demo
First 7minutes: Use Case Description + Wafer Extension Demo. The rest of the time is focusing on a Technical Deep Dive into it in order to let your tech-guys adjust it to your needs.
System Requirements:
-
- Tableau Desktop (2020.2 and higher)
- Port 5000 needs to be open/free (Flask Webserver)
- Postgres database v11 (v12 not yet supported as of post date)
- Postgis installed
- Python 3.8 mit Anaconda
- Admin rights
Installation
Step-by-Step Installation
- Setting up the database with Ludwig Ehlert’s Postgres 11 install-setup walkthrough
- Download this Github repostory
- with the Tableau Extension
- the TREX manifest file which points to the Tableau Extension
- The v2020.2 Tableau Workbook
- Python file with Flask Webserver
- Extract somewhere on your machine where you’d like to run the WebServer from in the next step (Ready. Set. Go!)
- Install Python 3.8 with Anaconda (leverage this ENV file for all the library dependencies: wafer_ext_env)
Ready. Set. Go!
Ready. Set. Go!
You can finally start your Flask WebServer which is part of the “json_io.py” script. For Windows open up Anaconda command line console as Administrator and type in the following commands (for Linux users: you know what you’re doing! 😉
cd C:\<THE PATH WHERE YOU EXTRACTED THE WAFER EXTENSION TO>

conda activate flask

set FLASK_ENV=development

python json_io.py
Now you should be all set! So please open up the Tableau Workbook within the 7Zip file and repeat what you can find within the demo video section.
Troubleshooting
Troubleshooting
-
- Open up the “json_io.py” within a text editor and adjust the rows underneath “#####DB info” so that they do exactly match with your database setup.
- If you run into issues please try to change the locale settings of the laptop you’re running the Tableau Workbook on to English (United States)
- Make sure port 5000 is free
- Check the logs within the Anaconda console
- If you’re encountering a “ValueError: could not convert string to float:” within Anaconda’s debugging console simply change your workbook locale in Tableau Desktop to “English (United States)”

- If you’re encountering a “ValueError: could not convert string to float:” within Anaconda’s debugging console simply change your workbook locale in Tableau Desktop to “English (United States)”
- Debug the Tableau Extension similar to how I demonstrated it within this video:
- With these steps in mind, please ask questions within the commenting area underneath if you’re having other issues in getting the Extension up and running
Leave a Reply