Preface
This document assumes you have fully installed XAMPP, MySQL and Tableau Extensions per this blog: https://tableaufans.com/extension-api/tableau-extension-api-write-back-updated-source-code-for-tableau-2018-2/
Step 1: Create a New SQL Server User
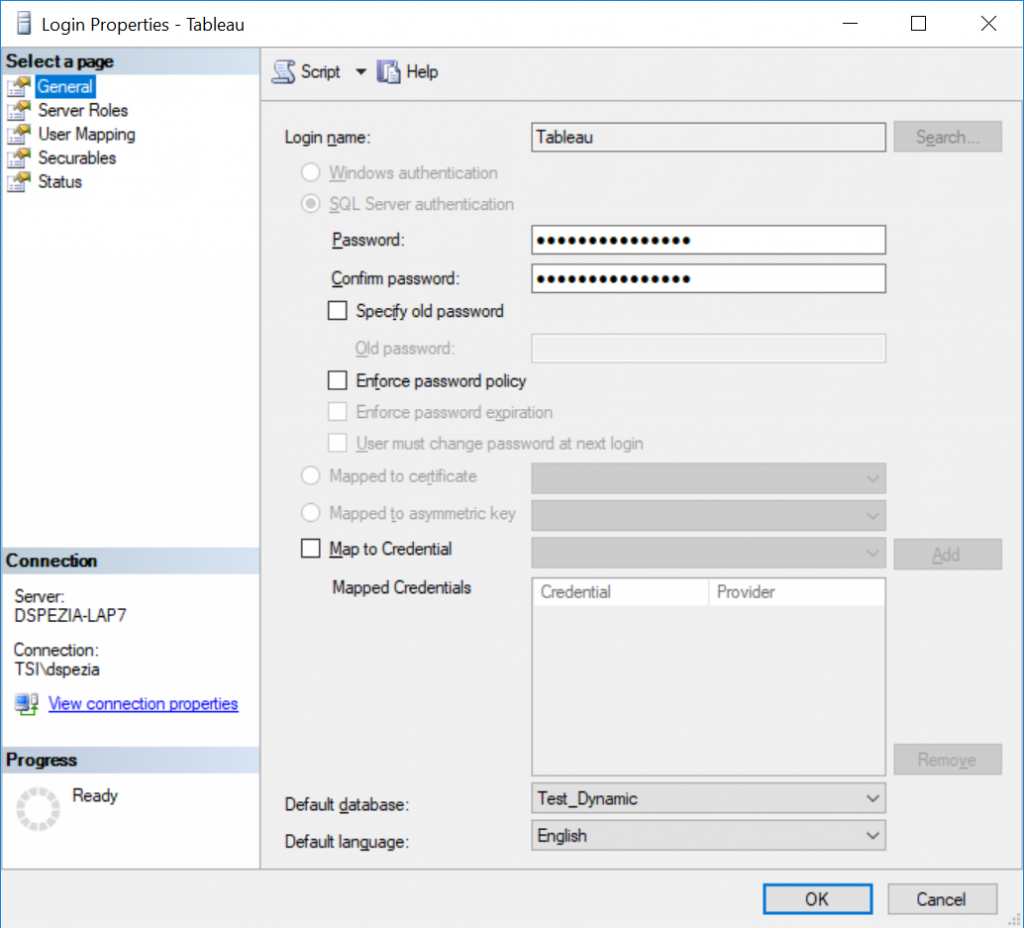
Log in to the SQL Server you want to setup for write back with SSMS. Create a new User called ‘Tableau’ with the Password ‘Tableau’.
Step 2: Add Write Back Table to SQL Server
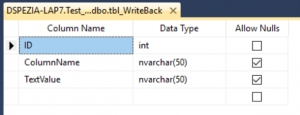
While still in SSMS, add a Table for writing back to called ‘tbl_WriteBack’ to a database of your choice. I used a database named ‘Test_Dynamic’ for my purposes. The table as am [ID] integer with an identity and serial increase and 2 nvarchar(50) for [ColumnName] and [TextValue].
Step 3: Give the Tableau User CRUD Permissions to the tbl_WriteBack
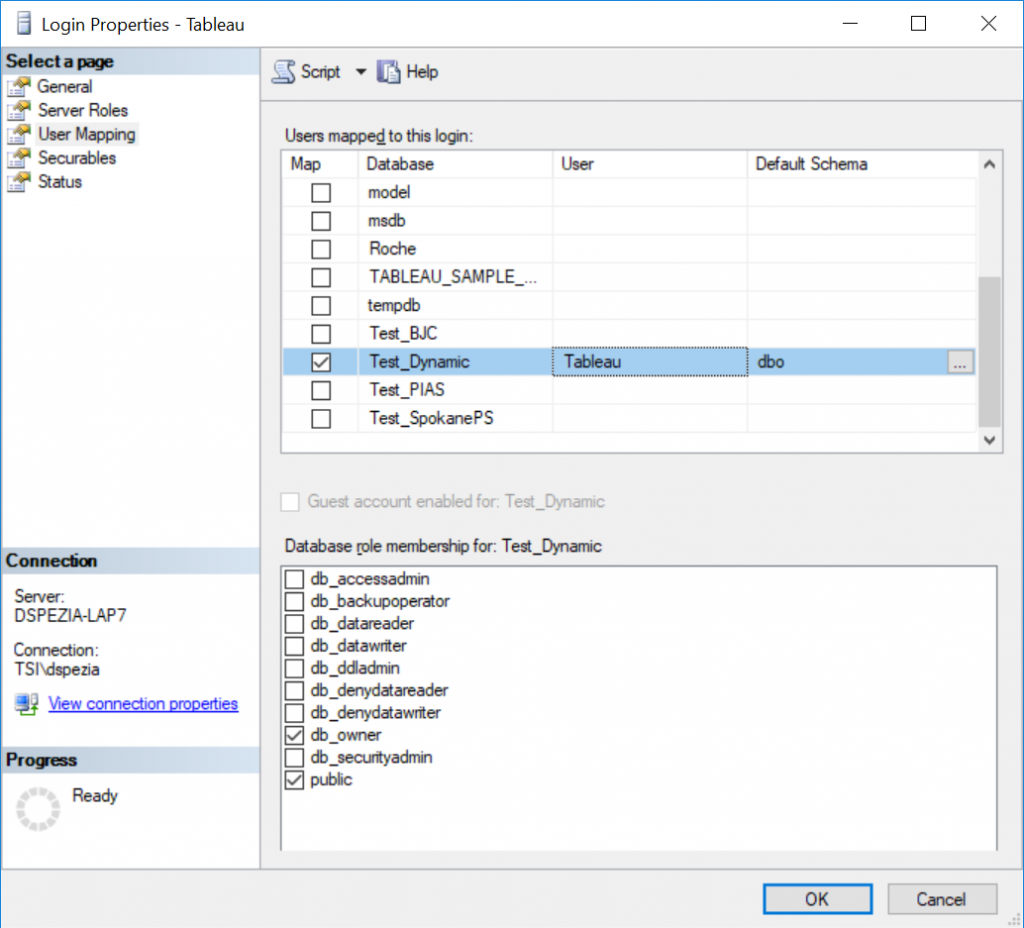
Use SSMS to update the permissions for the ‘Tableau’ user to be able to CRUD the new table created in Step 4.
Step 4: Duplicate the MySQL Writeback Code
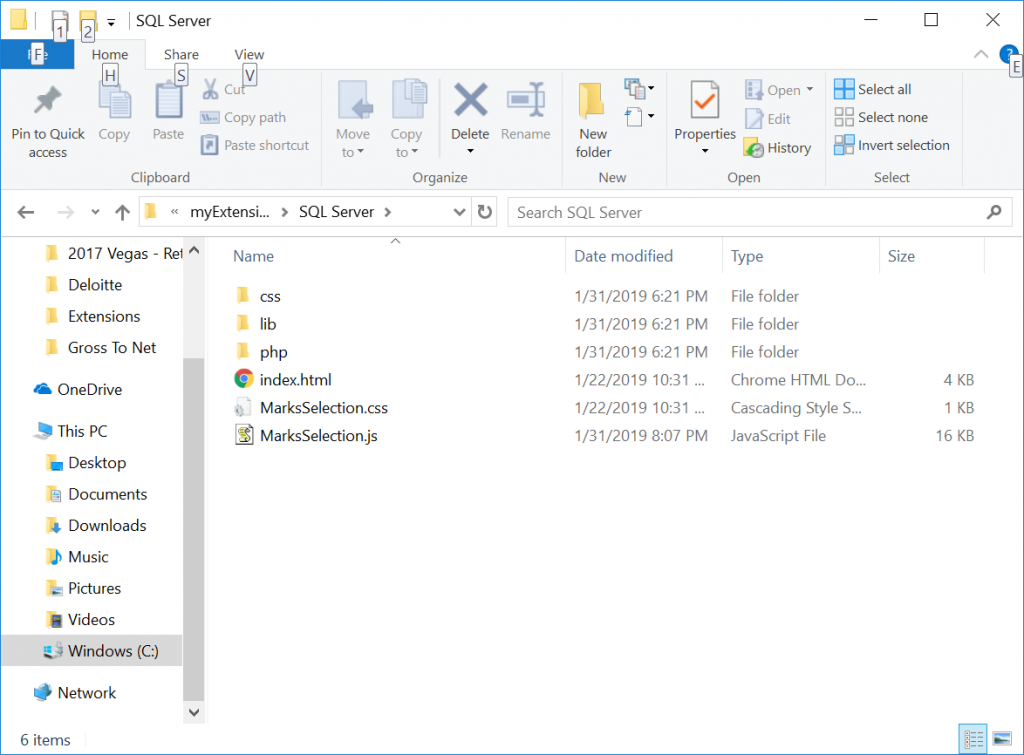
Copy the Entire Directory C:\xampp\htdocs\extensions-api-master\myExtensions\Tableaufans-WriteBack-2018.2 to C:\xampp\htdocs\extensions-api-master\myExtensions\SQL Server
Step 5: Create new TREX file
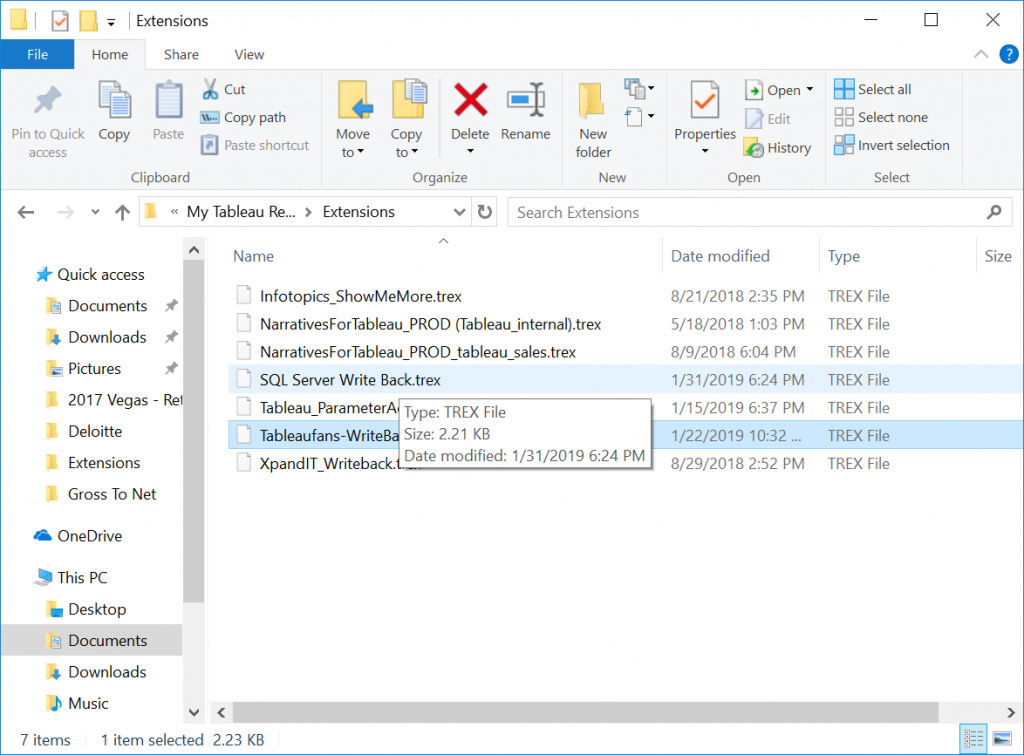
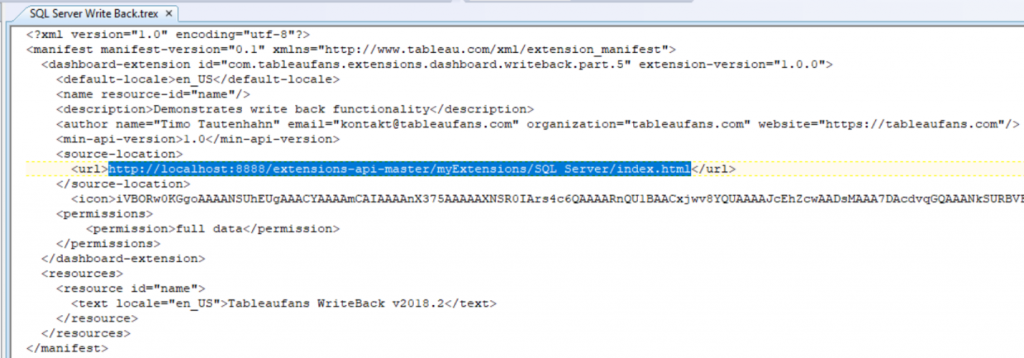
Copy the Tableaufans-WriteBack-2018.2.trex file in C:\Users\dspezia\Documents\My Tableau Repository\Extensions to the same directory and rename it SQL Server Write Back. Edit the TREX file to path to the correct write back JS and HTML. Edit the <URL> Element to:
<url>http://localhost:8888/extensions-api-master/myExtensions/SQL Server/index.html</url>
Step 6: Install SQL SVR for PHP
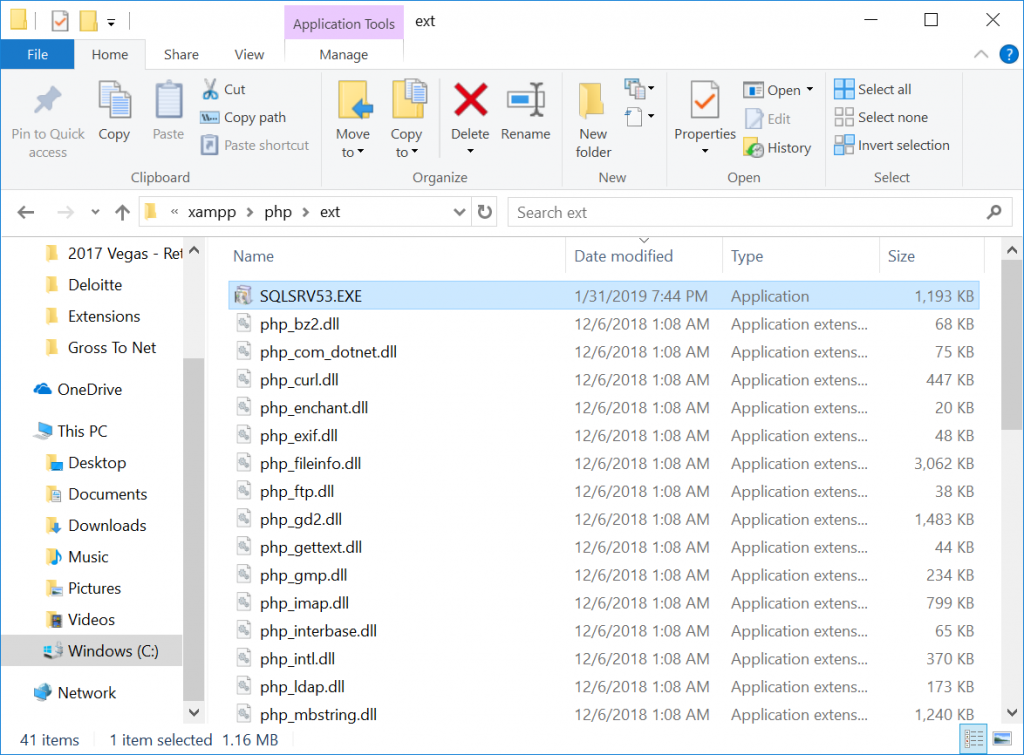
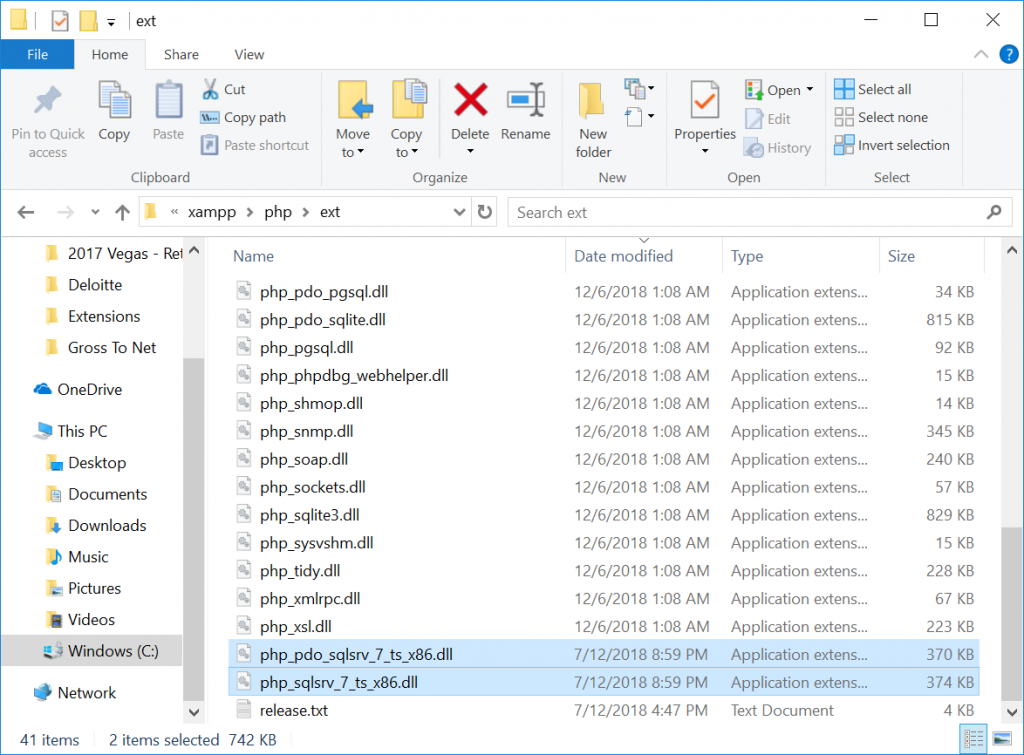
Get the latest SQL Server for PHP 7 drivers from https://docs.microsoft.com/en-us/sql/connect/php/step-1-configure-development-environment-for-php-development?view=sql-server-2017. Unpack the SQL Server drivers to C:\xampp\php\ext by running the SQLSRV53.EXE. You only need the php_pdo_sqlsrv_7_ts_x86.dll and php_sqlsrv_7_ts_x86.dll so you can delete the other sqlsrv dlls that were installed.
Step 7: Update the PHP Settings
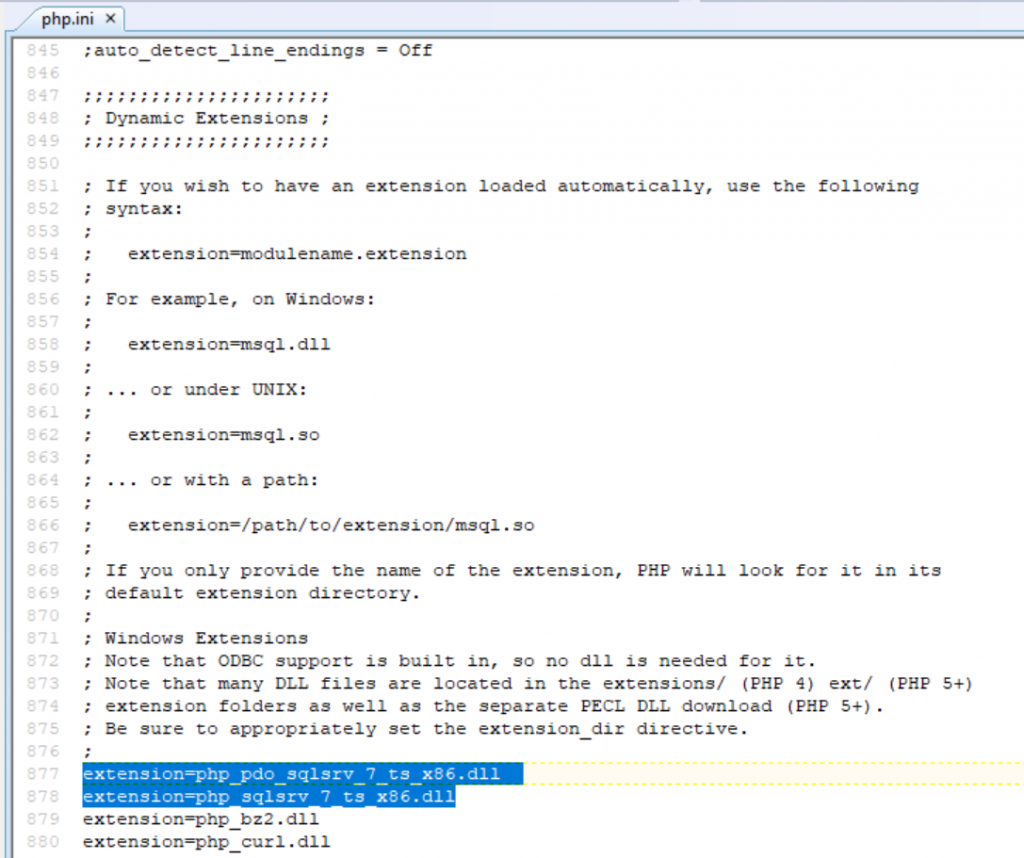
Update php.ini to point to the new DLLS for SQL Server. Update php.ini in C:\xampp\php to include the 2 new extensions. I added them at lines 877 and 878.
extension=php_pdo_sqlsrv_7_ts_x86.dll
extension=php_sqlsrv_7_ts_x86.dll.
If you don’t do it write you will see “PHP Fatal error: Uncaught Error: Call to undefined function sqlsrv_connect() in C:\\xampp…” in the apache error log in xampp C:\xampp\apache\logs\error.log
Step 8: Update the PHP Code
Update the writeToDb.php code found in C:\xampp\htdocs\extensions-api-master\myExtensions\SQL Server\php. I set mine up like this:
<?php

$customerName = $_POST['name'];
$clusterName = $_POST['cluster'];
$userInput = $_POST['userinput'];
$checkBox = $_POST['checkbox'];
$selectedMeasure = $_POST['measure'];

$serverName = "localhost";
$options = array( "UID"=>"Tableau", "PWD"=>"Tableau", "Database"=>"Test_Dynamic");
$conn = sqlsrv_connect($serverName, $options);

if( $conn === false )
     {
     echo "Could not connect.\n";
     die( print_r( sqlsrv_errors(), true));
     }

$query = "INSERT INTO [dbo].[tbl_WriteBack] (ColumnName,TextValue) VALUES(?, ?)";
$params1 = array($customerName,$userInput);
$result = sqlsrv_query($conn,$query,$params1);

sqlsrv_close($conn);

?>
Step 9: Update the JS Code
You need to update the refresh code to update the new SQL Server Data Source. Open the JS file MarksSelection.js in C:\xampp\htdocs\extensions-api-master\myExtensions\SQL Server. And change the Refresh Section line 467 to 476 to this:
var datasourceName = dashboardDataSources[dataSource.id].name;

                      if (dashboardDataSources[dataSource.id].name == "DatasourceSQL")  {

                             //refreshDataSource(dashboardDataSources[dataSource.id]);

                             //alert("id: " + dashboardDataSources[dataSource.id]);

                             //alert("dataSource.id: " + dataSource.id);

                             refreshDataSource(dashboardDataSources[dataSource.id]);

                             console.log("refreshSQL() was called for Datasource Name: 'DatasourceSQL'");

                      }


                     //refreshDataSource(dashboardDataSources["DatasourceSQL"]);
Step 10: Update the TWB
Duplicate the TWB for MySQL Write Back.
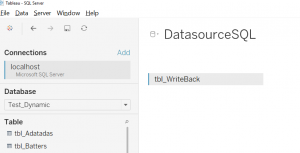
Add a Data Source to the tbl_WriteBack named “DatasourceSQL”
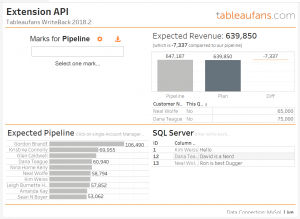
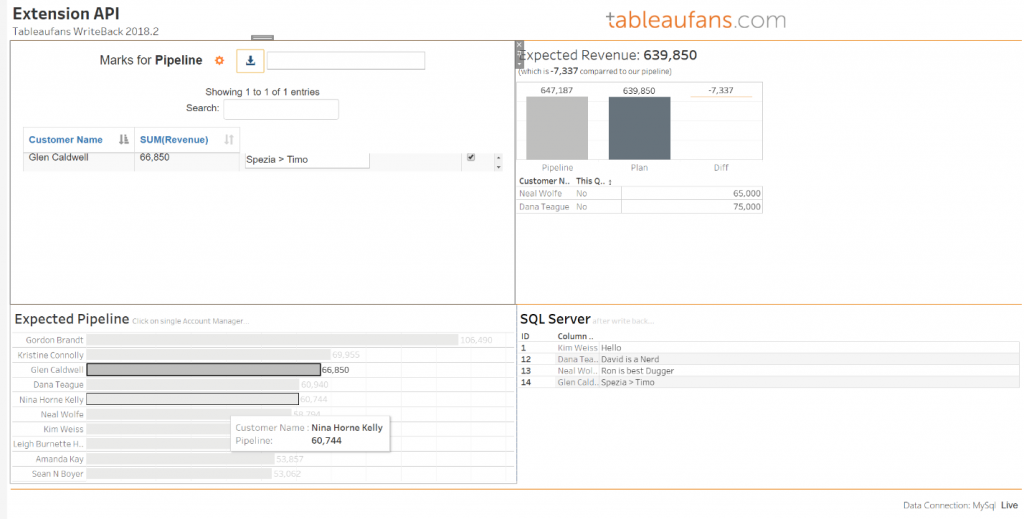
Add a Viz to Display Data from the new WriteBack Table. Replace the Pipeline after Planning Chart with the new Viz and replace the Old Ext with your new Ext.
Step 11: Have Fun!
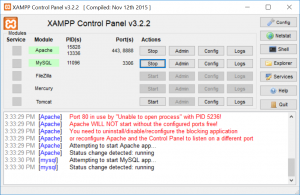
Start your MySQL and Apache Server in XAMPP and have fun!

